01Listen & measure
Start with the life around the piece.
Who uses it? What must it hold? Measure the room, doorways and the route into place. Photograph the setting and note the surfaces it will sit beside.
WHAT THIS LEAVES YOU WITHA clear brief, dimensions and priorities.
02Draw & test
Resolve proportions before cutting.
Sketch more than one direction. Refine the selected idea with measured drawings and a cardboard or scrap-wood mock-up where reach, seating or access matters.
WHAT THIS LEAVES YOU WITHA shared design and a tested scale.
03Select the timber
Read the board, not just the species.
Look at grain, defects and colour together. Check moisture content against the intended indoor conditions, then let the timber acclimatise before final machining.
WHAT THIS LEAVES YOU WITHA board layout and a considered cutting list.
Tools to understand: Marking gauge
04Prepare the stock
Create dependable reference faces.
Rough-cut with an allowance. Establish a flat reference face and square edge, then bring the components towards their final dimensions. Allow stressed stock to settle.
WHAT THIS LEAVES YOU WITHStraight, square parts ready for layout.
Tools to understand: Bench plane
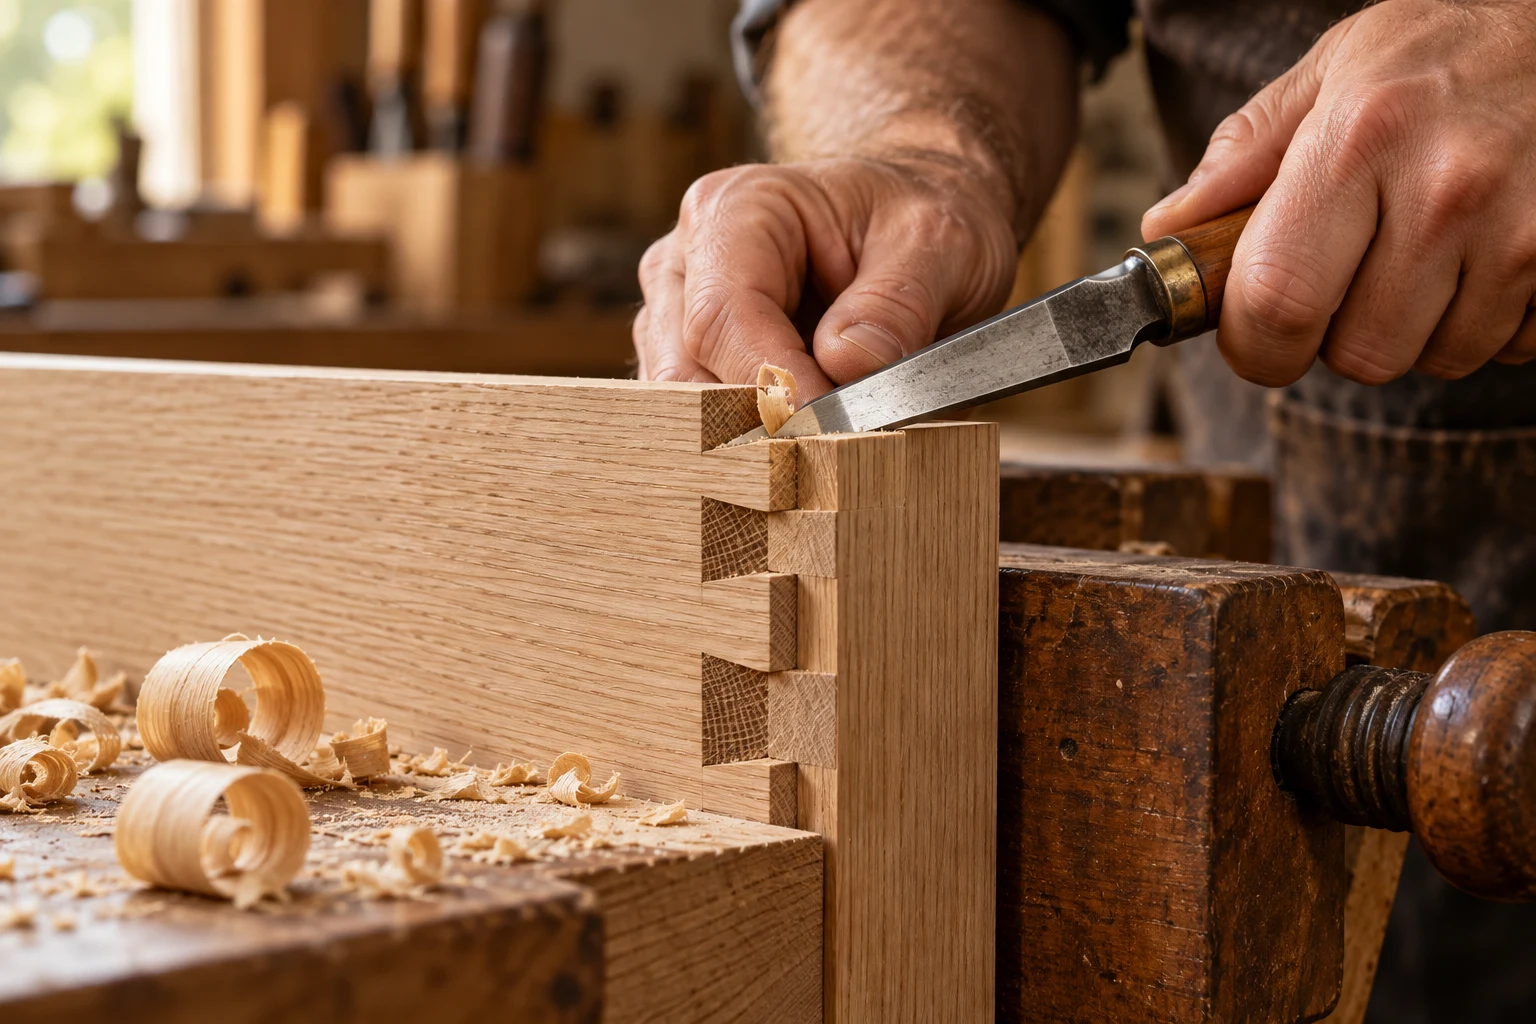
05Cut the joinery
Strength follows the grain.
Mark from reference faces. Select joints for their loads and movement: mortise-and-tenon connections for frames, dovetails for appropriate box corners, floating panels where needed.
WHAT THIS LEAVES YOU WITHClean joints and a complete dry assembly.
Tools to understand: Marking gauge · Bench chisel · Dovetail saw
06Shape & refine
Let the hand judge the edge.
Build curves gradually. Check symmetry or deliberate asymmetry, soften touch points, and remove tool marks without washing away crisp lines. Test the surface in raking light.
WHAT THIS LEAVES YOU WITHA resolved silhouette and comfortable details.
Tools to understand: Carving gouge · Card scraper
07Finish & cure
Protect the surface, keep its character.
Test the proposed finish on matching offcuts. Prepare consistently, apply according to the maker’s directions and respect drying and full curing times before use.
WHAT THIS LEAVES YOU WITHAn even surface and a recorded finish system.
Tools to understand: Card scraper
08Fit & care
A good ending is a good beginning.
Check doors, drawers and the final fit. Provide care guidance for the actual finish, and explain how sunlight, moisture and seasonal movement affect the piece.
WHAT THIS LEAVES YOU WITHA finished object, with the knowledge to care for it.